As a seasoned step drill supplier, I've witnessed firsthand the importance of a sharp step drill in various industries. A well - sharpened step drill not only enhances the precision of drilling but also extends the tool's lifespan. In this blog, I'll share comprehensive insights on how to sharpen a step drill effectively.
Understanding Step Drills
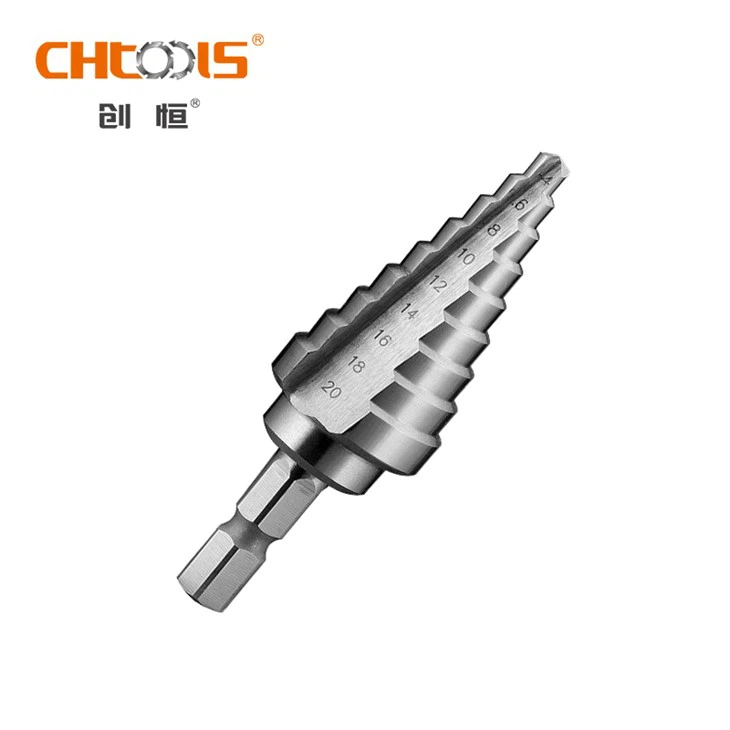
Before delving into the sharpening process, it's essential to understand what a step drill is. Step drills, also known as Step Bit, are multi - diameter drill bits that can create holes of different sizes without changing the drill bit. They are commonly used in metalworking, woodworking, and electrical installations. The unique design of step drills allows for smooth and efficient drilling, making them a popular choice among professionals and DIY enthusiasts alike.
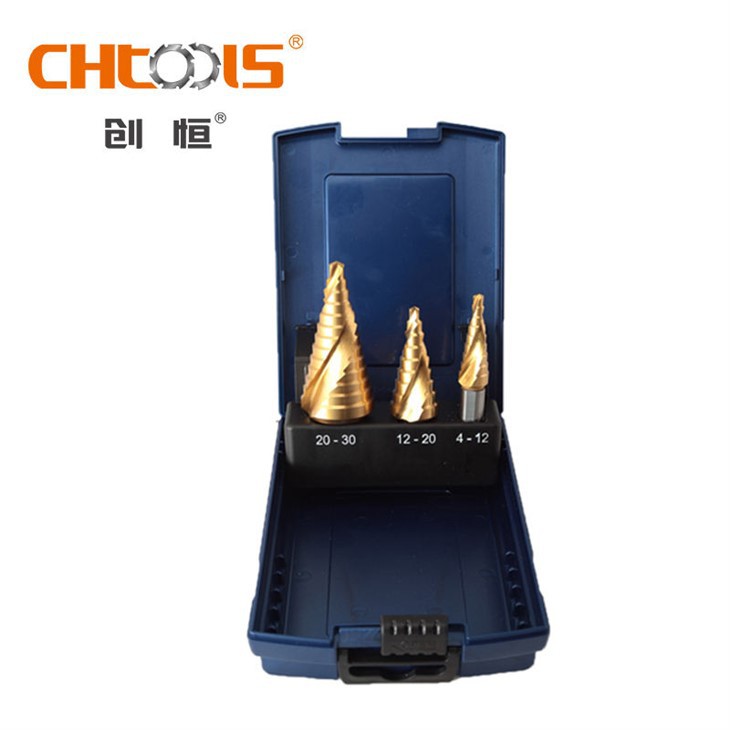
Step drills come in different types, such as Step Drill Bit for Metal and Step Drill Bit Set. Metal step drills are designed to cut through tough materials like steel and aluminum, while drill bit sets offer a range of sizes to meet various drilling needs.
Signs That Your Step Drill Needs Sharpening
Recognizing when a step drill needs sharpening is crucial. Here are some common signs:
- Reduced Cutting Efficiency: If the drill takes longer to penetrate the material or requires more pressure to drill, it's a clear indication that the cutting edges are dull.
- Poor Hole Quality: Dull step drills can produce rough - edged holes with burrs. If you notice that the holes you're drilling are not as clean as they used to be, it's time to sharpen the drill.
- Excessive Heat Generation: A dull drill generates more heat during the drilling process. If the drill bit becomes too hot to touch after a short period of use, it needs sharpening.
Tools Required for Sharpening
To sharpen a step drill, you'll need the following tools:
- Bench Grinder: A bench grinder is the most common tool for sharpening step drills. It consists of a rotating abrasive wheel that can remove material from the drill bit to restore its sharpness.
- V - Block: A V - block is used to hold the step drill securely in place during the sharpening process. It ensures that the drill bit is positioned correctly and maintains the proper angle.
- Safety Gear: Always wear safety goggles and gloves to protect your eyes and hands from flying debris and sharp edges.
Step - by - Step Sharpening Process
Step 1: Prepare the Workspace
Set up your bench grinder in a well - ventilated area. Make sure the grinder is stable and the abrasive wheel is in good condition. Clean the V - block and place it near the grinder.
Step 2: Inspect the Drill Bit
Examine the step drill for any signs of damage or excessive wear. If the drill bit is severely damaged, it may need to be replaced rather than sharpened.
Step 3: Secure the Drill Bit
Place the step drill in the V - block, ensuring that it is centered and held firmly. The V - block will help you maintain the correct angle while sharpening.
Step 4: Determine the Sharpening Angle
The sharpening angle of a step drill typically ranges from 118° to 135°. The exact angle depends on the material you'll be drilling. For softer materials like wood, a 118° angle is usually sufficient, while for harder materials like metal, a 135° angle may be more appropriate.
Step 5: Start Sharpening
Turn on the bench grinder and carefully bring the cutting edge of the step drill into contact with the rotating abrasive wheel. Apply light pressure and move the drill bit back and forth along the wheel to ensure even sharpening. Keep the drill bit at the determined sharpening angle.
- Sharpening the Cutting Edges: Focus on sharpening the cutting edges of the step drill. Make sure to maintain the same angle on both sides of the cutting edge for balanced cutting performance.
- Sharpening the Flutes: The flutes of the step drill are also important for chip removal. Use the grinder to remove any debris or burrs from the flutes to ensure smooth chip flow.
Step 6: Check the Sharpness
Periodically stop sharpening and check the sharpness of the drill bit. You can do this by running your finger gently along the cutting edge (be careful not to cut yourself). A sharp drill bit should feel smooth and have a distinct edge.
Step 7: Finish the Sharpening
Once you're satisfied with the sharpness of the drill bit, turn off the bench grinder and remove the step drill from the V - block. Use a wire brush to clean any debris from the drill bit.
Tips for Effective Sharpening
- Take Your Time: Sharpening a step drill requires patience. Rushing the process can result in an unevenly sharpened drill bit or damage to the cutting edges.
- Cool the Drill Bit: To prevent overheating and damage to the drill bit, periodically dip the drill bit in water during the sharpening process. This will help dissipate the heat and maintain the integrity of the drill bit.
- Practice Makes Perfect: Sharpening a step drill is a skill that improves with practice. Start with a less - important drill bit to get the hang of the process before sharpening your high - quality step drills.
Alternative Sharpening Methods
If you don't have a bench grinder, there are alternative methods for sharpening step drills:
- File Sharpening: You can use a file to sharpen a step drill. This method is more time - consuming but can be effective for minor sharpening.
- Sharpening Jigs: Sharpening jigs are available that can help you maintain the correct angle while sharpening the drill bit. They are a good option for those who are new to sharpening.
Maintaining the Sharpness of Your Step Drill
After sharpening your step drill, it's important to take steps to maintain its sharpness. Here are some tips:
- Proper Storage: Store your step drills in a dry and clean place. Use a drill bit case or a toolbox to protect the drill bits from damage.
- Regular Cleaning: Clean the drill bits after each use to remove any debris or chips. This will prevent the accumulation of material on the cutting edges, which can dull the drill over time.
- Use the Right Lubricant: When drilling, use the appropriate lubricant for the material you're working with. Lubricants reduce friction and heat generation, which helps to keep the drill bit sharp.
Conclusion
Sharpening a step drill is a skill that every professional and DIY enthusiast should master. By following the steps outlined in this blog, you can ensure that your step drills are always in top - notch condition, providing precise and efficient drilling results. As a step drill supplier, I'm committed to providing high - quality step drills and sharing valuable knowledge to help you get the most out of your tools.
If you're interested in purchasing high - quality step drills or have any questions about sharpening or using step drills, I encourage you to reach out for a procurement discussion. We're here to provide you with the best products and solutions for your drilling needs.
References
- "Drill Bit Sharpening Guide" by Industrial Tooling Corporation
- "The Complete Guide to Metalworking" by McGraw - Hill Education